Introduction
Most home bakers assume that a richer chocolate cake requires a mountain of butter, yet the real secret lies in the balance of cocoa and liquid. By letting the cocoa powder do the heavy lifting, the batter stays moist without drowning in fat. This rich chocolate dessert shines on any occasion—whether it’s a casual weeknight treat or the centerpiece of a holiday spread. The aroma of bubbling chocolate mingles with a whisper of vanilla, while the crust forms a faintly crisp edge that gives way to a dense, fudgy interior. Beginners will appreciate the straightforward technique, families love the crowd‑pleasing depth, and meal‑preppers enjoy the make‑ahead potential. Scroll down to see the exact ingredients that create this velvety masterpiece.
Print
Rich Chocolate Desserts
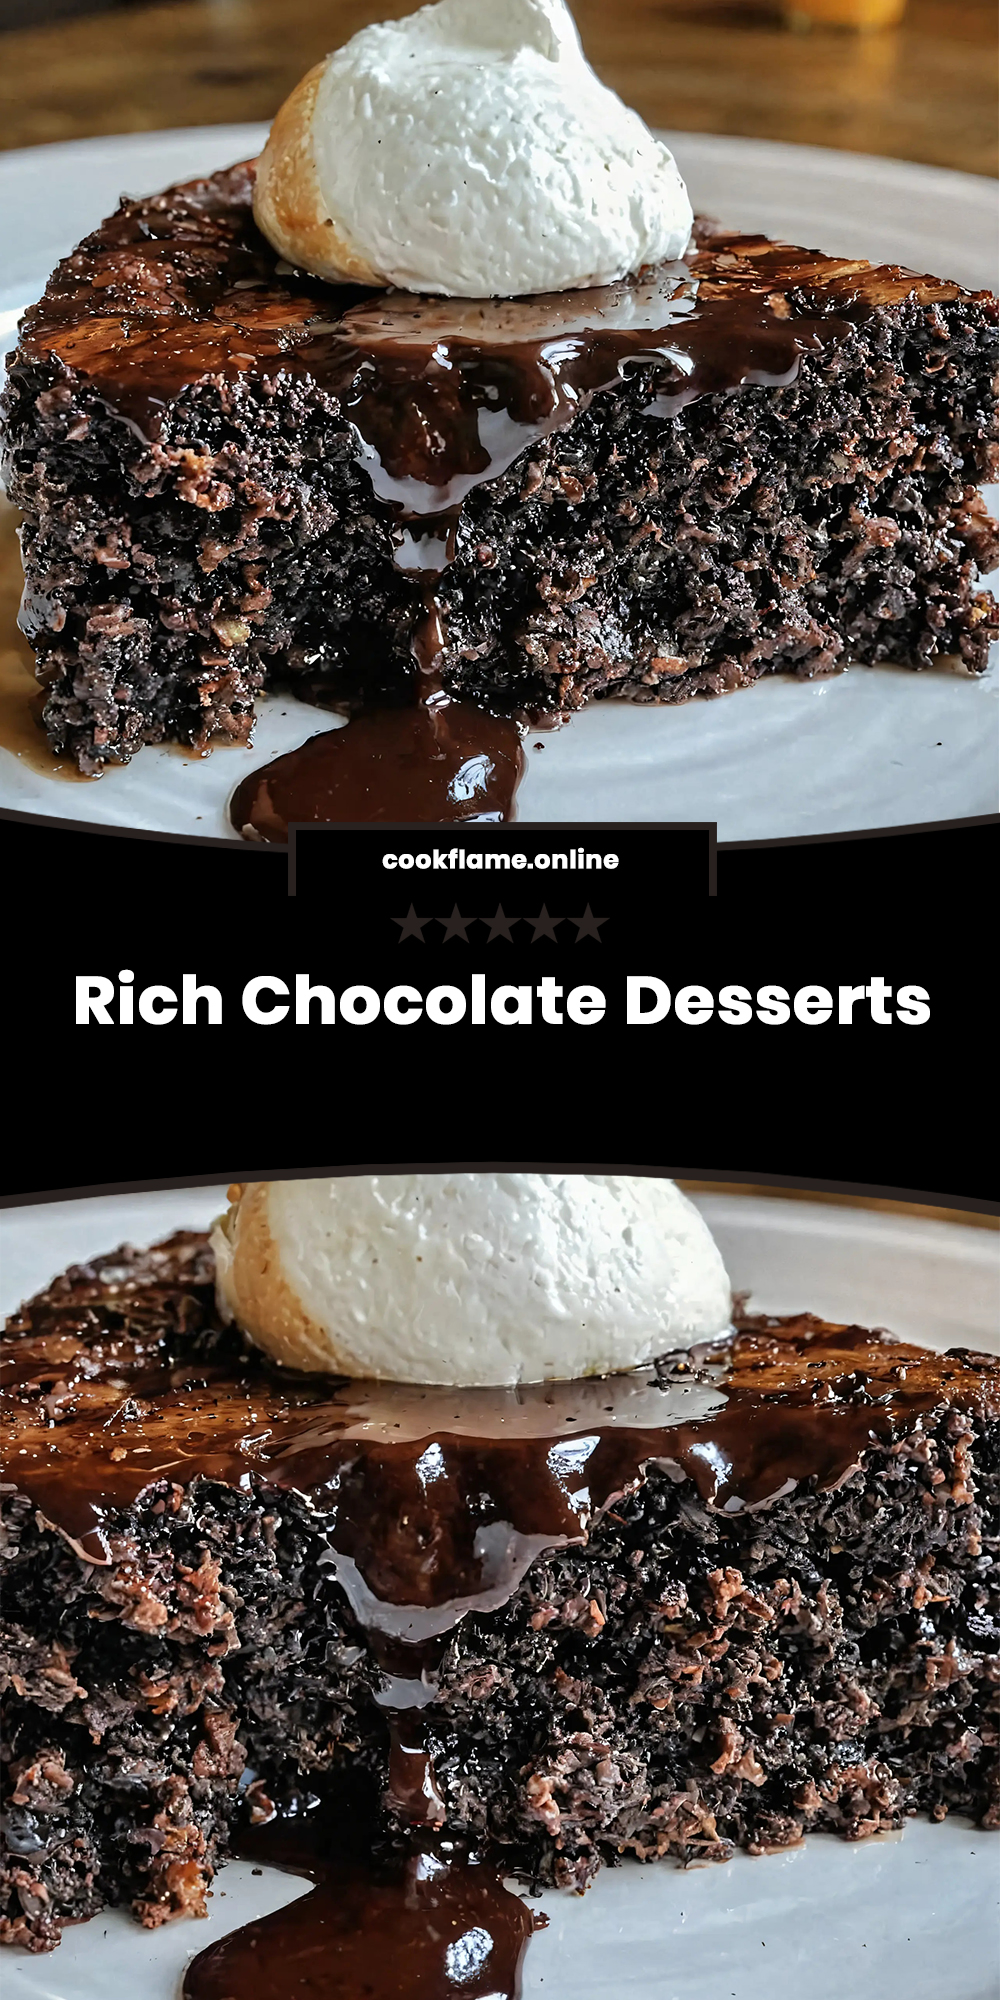
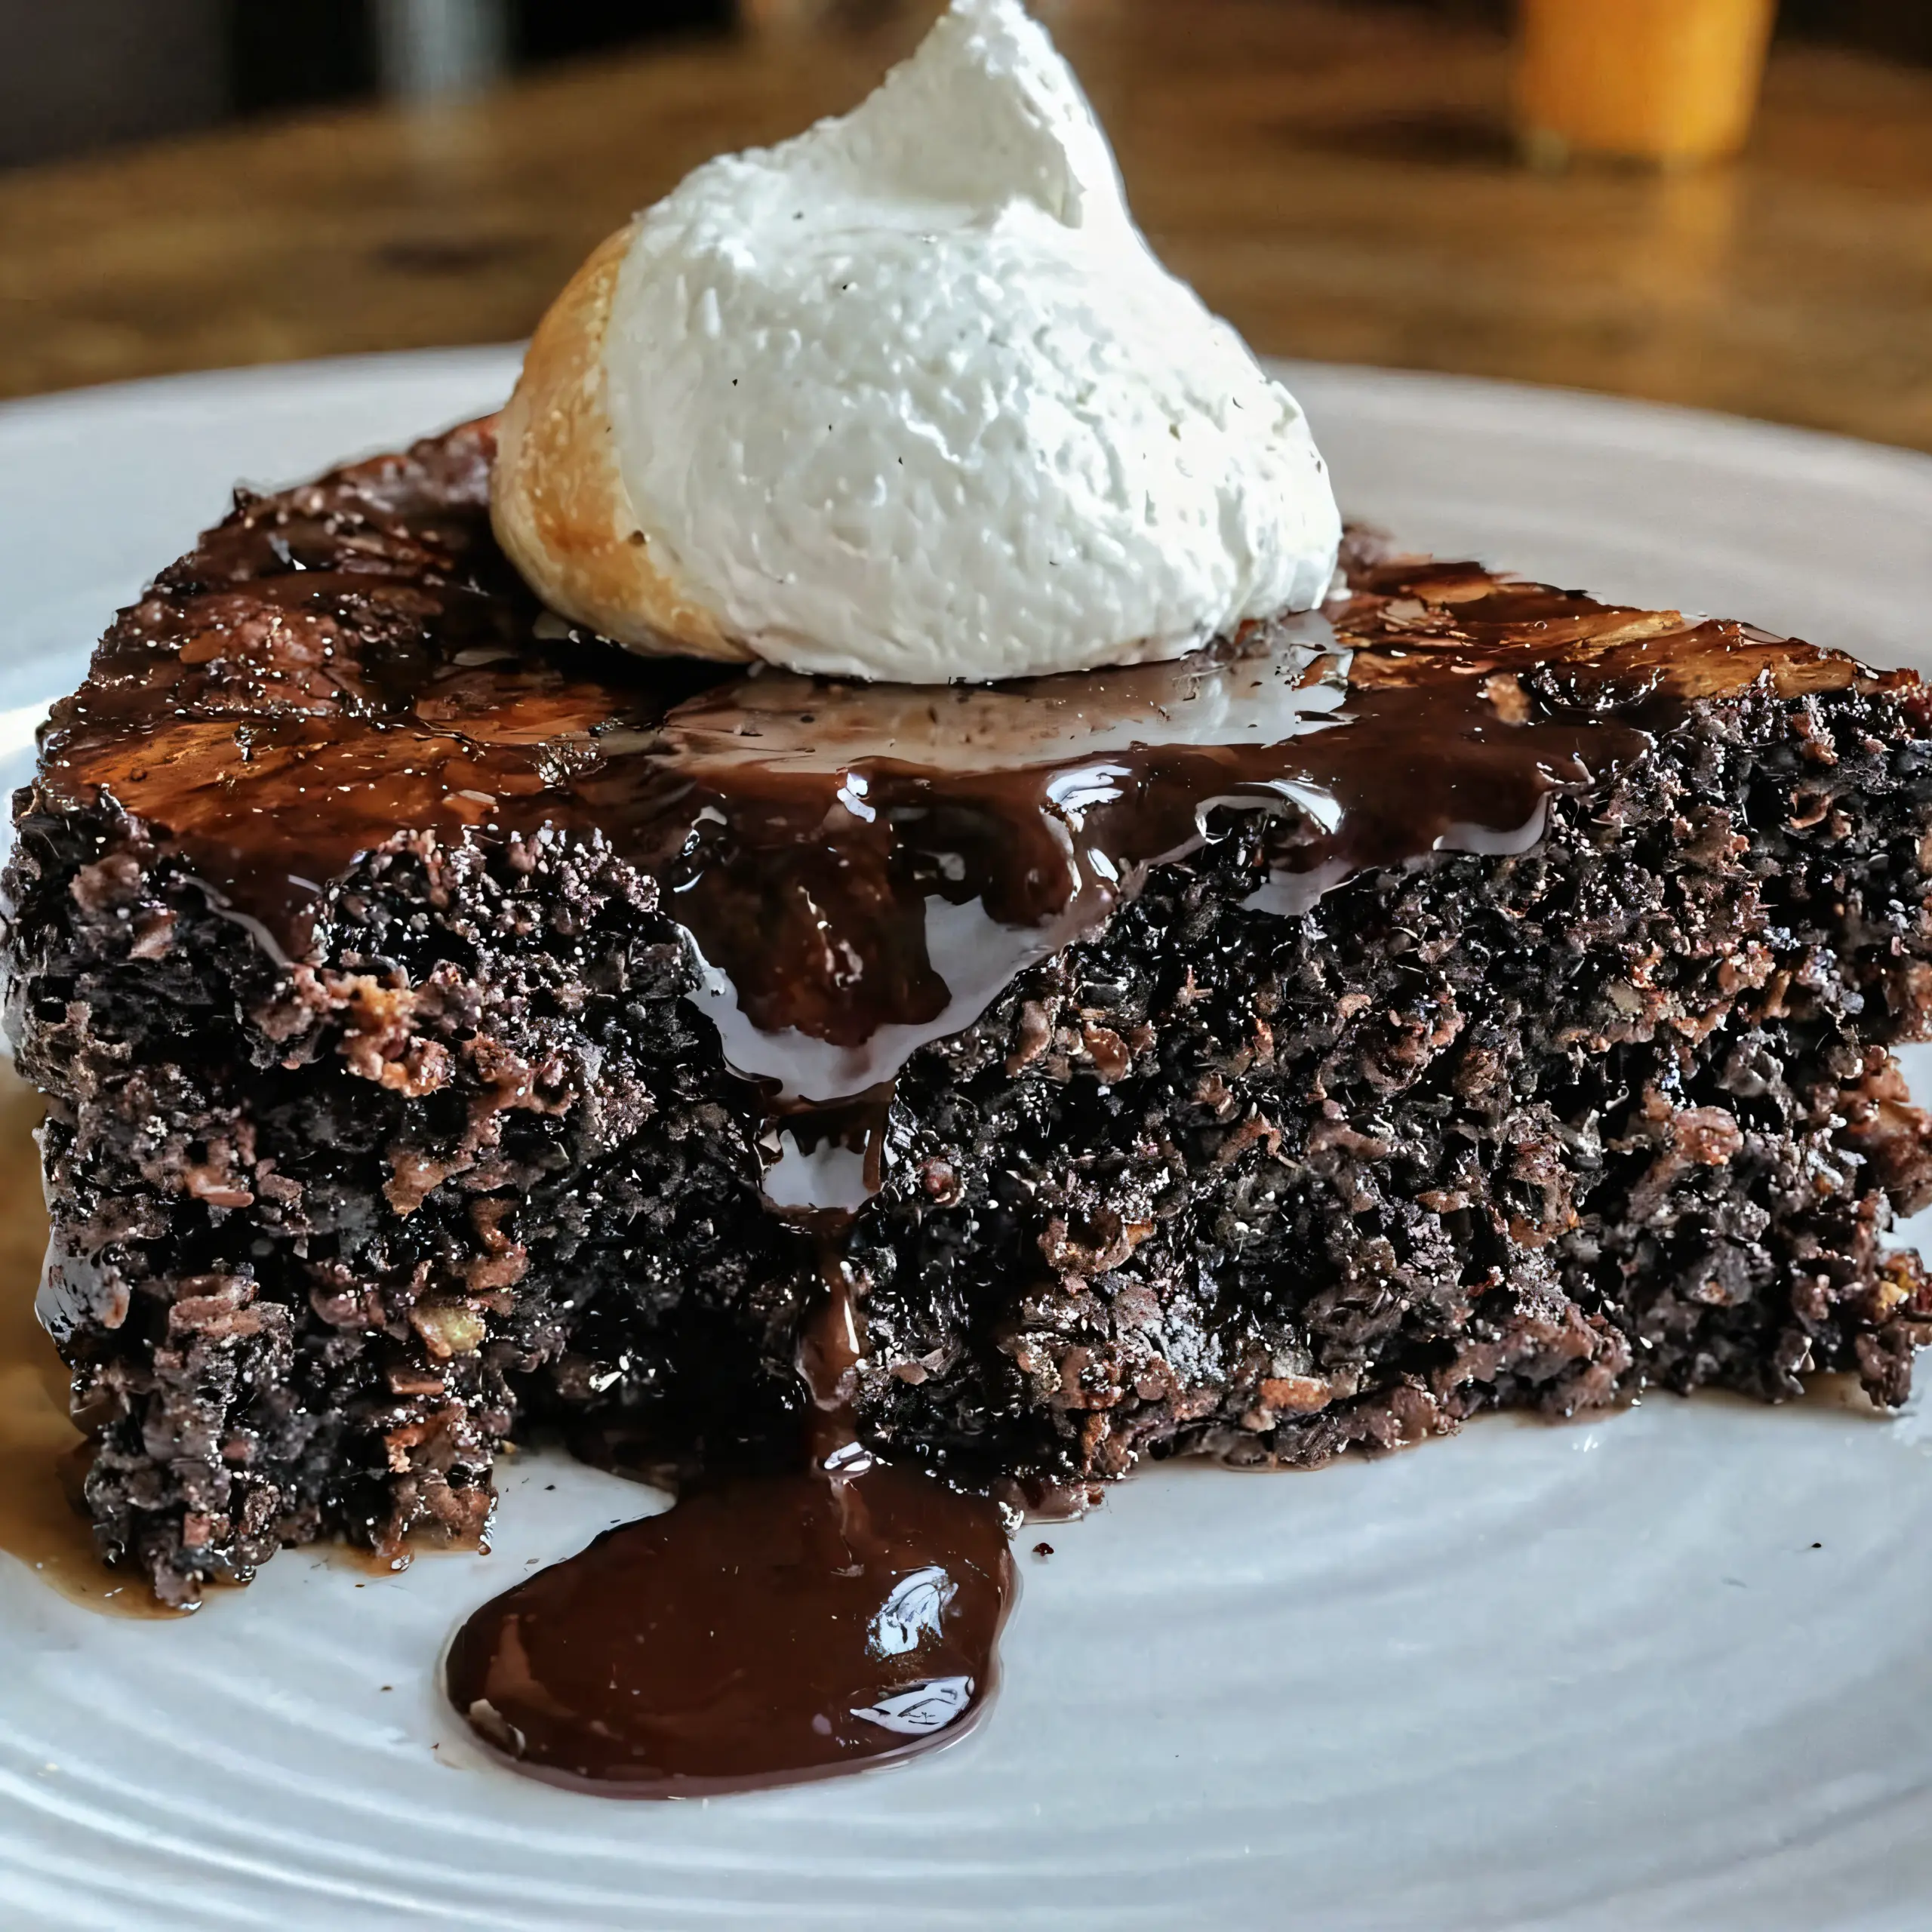
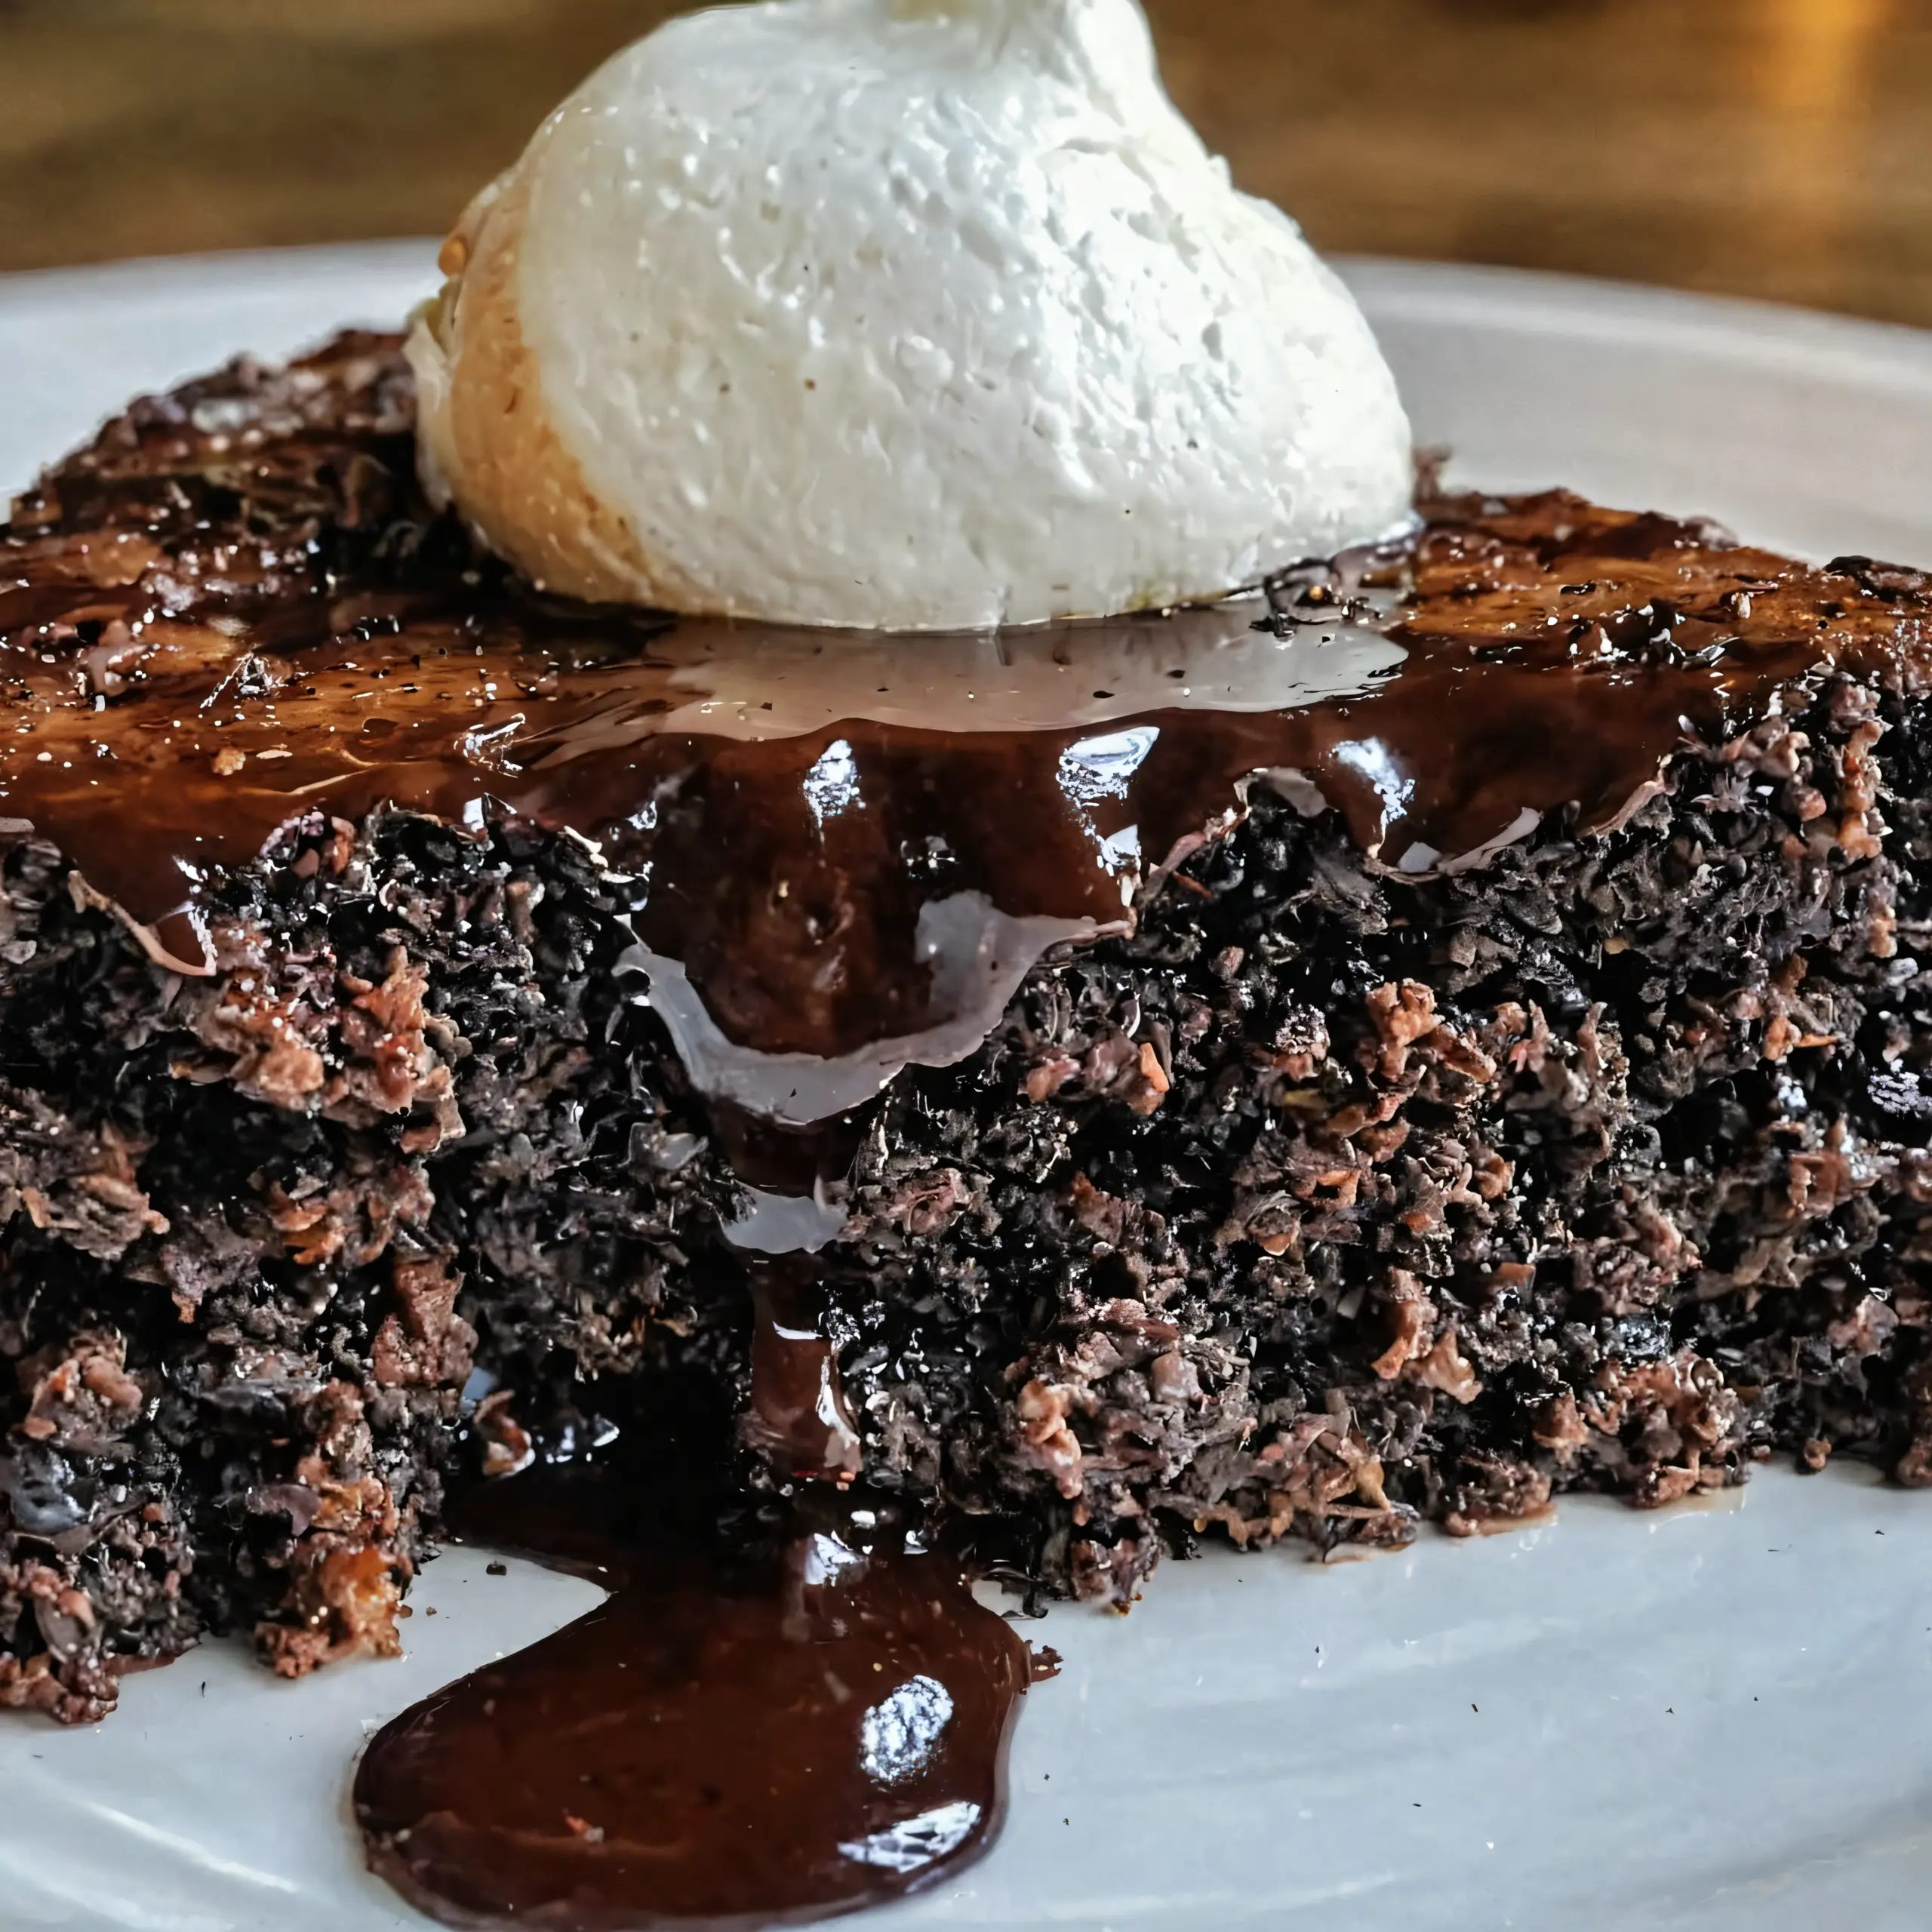
A dense, fudgy chocolate cake with a glossy chocolate glaze, perfect for chocolate lovers seeking depth and richness.
- Total Time: 55
- Yield: 12 1x
Ingredients
✓ 1 cup unsweetened cocoa powder
✓ 2 cups granulated sugar
✓ 1.75 cups all-purpose flour
✓ 1.5 teaspoons baking powder
✓ 1 teaspoon baking soda
✓ 0.5 teaspoon salt
✓ 2 large eggs
✓ 1 cup whole milk
✓ 0.5 cup vegetable oil
✓ 2 teaspoons vanilla extract
✓ 1 cup boiling water
✓ 1 cup chocolate chips
Instructions
✓ Preheat oven to 350°F / 175°C and position the rack in the middle of the oven
✓ Whisk cocoa powder, flour, baking powder, baking soda, and salt together in a large bowl
✓ In a separate bowl, beat sugar, eggs, milk, oil, and vanilla extract with a handheld mixer on medium speed
✓ Gradually pour the dry mixture into the wet mixture, stirring with a spatula until just combined
✓ Carefully stir in boiling water, the batter will thin dramatically
✓ Fold in chocolate chips if using, distribute evenly without crushing
✓ Cover the bowl with plastic wrap and chill the batter for 20 minutes
✓ Lightly grease a 9‑inch round cake pan and dust with a thin layer of flour
✓ Pour the chilled batter into the prepared pan, smoothing the top with a spatula
✓ Bake for 30–35 minutes, or until a toothpick inserted near the center emerges with a few moist crumbs
✓ Rotate the pan halfway through baking for uniform browning
✓ Remove the pan from the oven and place on a wire rack; allow the cake to cool in the pan for 10 minutes
✓ Run a thin knife around the edge, then invert onto a serving plate
✓ While the cake is still warm, drizzle a thin stream of melted chocolate chips over the top
✓ Allow the glaze to set for 5 minutes, the surface will develop a faint sheen
✓ Slice with a hot, wet knife for clean cuts, each slice should reveal a moist, fudgy interior
✓ Serve immediately or store as directed
Notes
Wrap cooled cake tightly for up to 4 days; freeze slices for longer storage.
- Prep Time: 20
- Cook Time: 35
- Category: Dessert
- Cuisine: American
Nutrition
- Calories: 350
- Sugar: 30
- Sodium: 250
- Fat: 18
- Carbohydrates: 45
- Fiber: 4
- Protein: 5
Ingredients
- 1 cup unsweetened cocoa powder – provides deep chocolate flavor; substitute with Dutch‑process cocoa for smoother taste
- 2 cups granulated sugar – sweetens and aids caramelization; substitute with coconut sugar for a subtle caramel note
- 1.75 cups all‑purpose flour – creates structure; substitute with gluten‑free blend (same volume)
- 1.5 teaspoons baking powder – adds lift; no direct substitute needed
- 1 teaspoon baking soda – reacts with acidic ingredients for rise; no direct substitute needed
- 0.5 teaspoon salt – enhances flavor depth; omit only if using salted butter
- 2 large eggs – bind and add richness; substitute with 2 × 1 tbsp flaxseed meal + water for vegan version
- 1 cup whole milk – provides moisture; substitute with almond or oat milk
- 0.5 cup vegetable oil – keeps crumb tender; substitute with melted coconut oil
- 2 teaspoons vanilla extract – adds aromatic depth; no substitute needed
- 1 cup boiling water – blooms cocoa, creates silky batter; no substitute needed
- 1 cup chocolate chips – optional extra chocolate pockets; substitute with chopped dark chocolate
This precise combination balances dry and wet components, ensuring a tender crumb while preserving an intense cocoa profile.
Step‑by‑Step Instructions
Preparation
- Preheat oven to 350°F / 175°C and position the rack in the middle of the oven (ensures even heat distribution).
- Whisk cocoa powder, flour, baking powder, baking soda, and salt together in a large bowl (until no streaks remain).
- In a separate bowl, beat sugar, eggs, milk, oil, and vanilla extract with a handheld mixer on medium speed (mix until smooth and pale).
- Gradually pour the dry mixture into the wet mixture, stirring with a spatula (stop when just combined; overmixing develops gluten).
- Carefully stir in boiling water (the batter will thin dramatically; this is normal and creates a glossy texture).
- If using chocolate chips, fold them in now (distribute evenly without crushing).
- Cover the bowl with plastic wrap and chill the batter for 20 minutes (helps the batter set and prevents spreading).
Cooking
- Lightly grease a 9‑inch round cake pan and dust with a thin layer of flour (prevents sticking).
- Pour the chilled batter into the prepared pan, smoothing the top with a spatula (surface should be level).
- Bake for 30–35 minutes, or until a toothpick inserted near the center emerges with a few moist crumbs (edges should be set and slightly crisp).
- Rotate the pan halfway through baking for uniform browning (prevents a pale spot).
- Remove the pan from the oven and place on a wire rack; allow the cake to cool in the pan for 10 minutes (prevents collapse).
- Run a thin knife around the edge, then invert onto a serving plate (the cake should release cleanly).
Assembly
- While the cake is still warm, drizzle a thin stream of melted chocolate chips over the top (creates a glossy glaze).
- Allow the glaze to set for 5 minutes; the surface will develop a faint sheen (indicates proper cooling).
Serving
- Slice with a hot, wet knife for clean cuts (each slice should reveal a moist, fudgy interior).
- Serve immediately or store as directed (the dessert stays moist for several days).
The rich chocolate dessert is ready when the top shows a faint glossy sheen and a toothpick inserted near the center comes out with just a few moist crumbs.
Why This Recipe Works
Blooming the cocoa powder in boiling water fully extracts the fat and flavor compounds, turning the batter into a silky liquid that spreads evenly during baking. The modest amount of flour combined with a brief chilling period limits gluten development, preventing a tough crumb while still providing enough structure to hold the dense interior. Baking soda reacts with the acidic cocoa and sugar, creating tiny air pockets that lift the batter without compromising the fudgy texture. Finally, the oil contributes to a tender crumb because it coats flour particles, reducing gluten formation further, while the eggs supply emulsification that binds the wet and dry phases together.
Tips for Reliable Results
- If the batter appears too thick after adding the dry ingredients, increase the boiling water by up to 2 tablespoons—this restores the glossy consistency.
- When the cake spreads too much during baking, chill the batter an additional 10 minutes; colder batter holds its shape better.
- Overmixing after adding the flour can lead to a rubbery texture—stop mixing as soon as the flour disappears.
- Use a digital kitchen scale for the cocoa powder; a slight variance in weight can affect bitterness.
- For a crispier crust, place a metal baking sheet on the lower rack and preheat it; the direct heat encourages caramelization at the edges.
- To store, wrap the cooled cake tightly in plastic wrap and then in aluminum foil; it stays moist for up to 4 days at room temperature.
- For make‑ahead, freeze individual slices wrapped in parchment and foil; thaw at room temperature for 30 minutes before serving.
- If the chocolate glaze cracks, gently reheat the chips in the microwave for 5‑second intervals, stirring in between, until smooth.
Variations
- Espresso‑Infused: Replace 1 cup of boiling water with 1 cup of strong espresso; the coffee deepens the chocolate notes and adds a subtle bitterness.
- Gluten‑Free Almond: Swap all‑purpose flour for 1.75 cups almond flour; the cake becomes slightly more crumbly but gains a nutty undertone—add ¼ tsp xanthan gum to mimic gluten’s binding effect.
- Vegan: Use flax eggs, plant‑based milk, and coconut oil; the texture remains moist, and the flavor profile stays true to chocolate.
- Salted Caramel Swirl: Drizzle ¼ cup homemade caramel sauce over the batter before baking and sprinkle flaky sea salt on top; the sweet‑salty contrast elevates the richness.
Time and Yield
Prep time: 20 minutes
Cook time: 35 minutes
Cooling/rest time: 15 minutes
Total time: 70 minutes
Yield: 12 generous slices
Frequently Asked Questions
Can the sugar be reduced without affecting texture?
Reducing sugar by more than ¼ cup can cause the cake to lose its tender crumb because sugar also retains moisture. If a lower sweetness is desired, replace the removed sugar with an equal amount of a natural sweetener like erythritol, but expect a slightly different mouthfeel.
What if the batter looks grainy after adding the cocoa?
A grainy texture indicates that the cocoa powder has not fully dissolved. Continue whisking for another minute, or sift the cocoa with the flour before mixing; the extra agitation helps break down any lumps.
Why did the cake turn out dry?
Overbaking is the most common cause; remove the cake when the toothpick shows only a few moist crumbs. Also, ensure the boiling water is truly hot, as lukewarm water reduces the bloom effect, leading to a drier crumb.
Is it possible to freeze the batter before baking?
Yes, the batter can be frozen in airtight containers for up to 1 month. Thaw overnight in the refrigerator, give it a quick stir, then bake as directed; the texture remains consistent.
Can a different type of chocolate be used for the chips?
Absolutely—milk chocolate, white chocolate, or chopped bittersweet chocolate all work. Each will alter the final flavor intensity: milk chocolate adds sweetness, white chocolate adds creaminess, and bittersweet deepens the cocoa profile.
Conclusion
The counterintuitive truth that less butter yields a richer chocolate experience shines through this rich chocolate dessert. By respecting the balance of cocoa bloom, controlled gluten development, and precise moisture ratios, home cooks can consistently achieve a fudgy interior and a delicate crust. The recipe invites experimentation—whether adding espresso, swapping flours, or swirling caramel—while remaining reliable enough for make‑ahead planning. With the tips and variations in hand, the next batch will be as indulgent as the first, delivering that unmistakable chocolate depth that began the story.